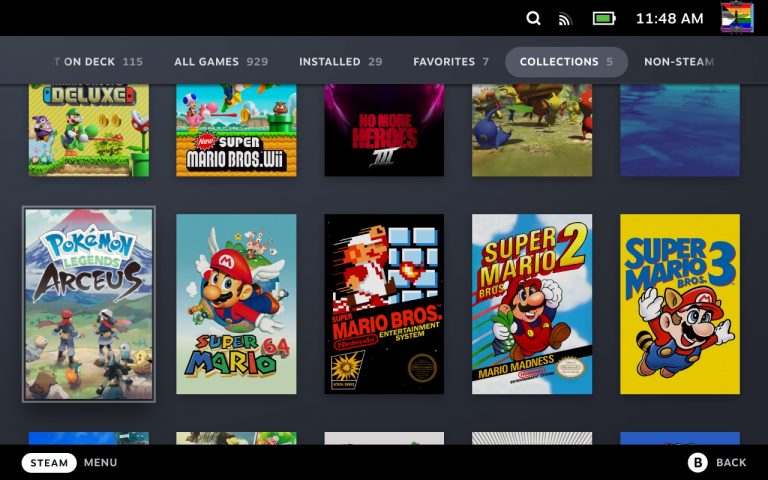
If you’re emulating on your deck, chances are you are gonna want to use the Steam Rom Manager. It’s a one-time set up to automatically import all your emulated games to steam along with custom artwork from Steam Grid Database. It will put all of them in categories on steam based on their system (if you want). It’ll also make it so you are shown as playing the game itself instead of the emulator to your steam friends, and, most importantly IMO, you can customize the control bindings for each game.
Part I: INSTALLATION
1- Download and install your emulators (Most of them are available though the Discover app, I recommend using RetroArch for your retro systems. I love how it has Achievement support).
2- Download the .AppImage version from the Steam Rom Manager GitHub (WARNING: there are two appimage version. DO NOT get the one with the i386 in it.
3- After downloading, click on it in the file browser. A little window will pop up, just hit “execute”. (If nothing happens, you may have not read step 2 well enough)
Part II: USAGE
First, if you mess any of this up, just click on the “Preview” in the top left and click “Parsers” again to start over.
1- I agree, the interface seems intimidating. Don’t worry, I’ll walk you through it. First, click the “Parsers” over on the left. You’ll need to make a new parser for each game system.
2- In the first field, search for the game system you want to set up first. (i.e. “NES” or “gamecube”). If you’re using retroarch for this system pick the one that has retroarch in the title. If not, don’t. It may have multiple options for the retroarch core. I’m not a core expert, I just google the one that’s most popular and move on. You’ll need to be sure you download that core through retorarch.
3- In the “Steam Category” field it will automatically suggest a steam collection to put it in by the system title. You can add more or change this, and these can be changed manually from within the Steam UI later.
4- In the “Executable” field, if you’re running a native emulator that you installed through Discover then you’ll put “/usr/bin/flatpak” (no quotes). If you’re using a non-native .exe (like for CEMU) then you’ll just put the path to the .exe.
5- This one’s tricky. In the “Command Line Arguments”, if you’re using a non-native emulator, just leave it as is but you’ll have to add “Z:” before the “/home…” in the command line for every game after you finish all these steps. If you’re using a native linux emulator, you’ll need a bit more. There will already a buncha stuff there. You need to keep all that but you’ll need to add some stuff to the beginning. I’ll just list what you should paste for the ones i use, but I’ll explain how to find more emulators after these steps below. Paste what’s in the quotes for the emulator you’re setting up BEFORE the stuff already in the field. Note there needs to be a space between the app name and the rest of the command line stuff that was already there:”run org.libretro.RetroArch ” for Retroarch”run org.yuzu_emu.yuzu ” for Yuzu”run org.DolphinEmu.dolphin-emu ” for Dolphin
6- In the “ROMs Directory” you’ll need to paste the file path for wherever you put your rom files for that emulator. Mine are in “/home/deck/ROMS/“, but you can put/organize them however you want, just be sure you’re pointing to the correct directory here.
7- In the “Steam Directory” put “/home/deck/.steam/steam” (without quotes).
8- In the “User Accounts” you can put ${your steam login name} if you don’t want these installed on anyone else’s login.
9- That should be it for this system. Click the green-outlined “Save” button at the bottom.
10- Go back to step 1 and repeat the rest of your game systems. You’ll end up with a list of parsers on the left. When you have them all set up, click on “Preview” at the top left.
11- You need to exit steam so Steam Rom Manager can add everything as non-steam games. From the tray (right click on the little black-and-white steam icon on the bottom right and then click “Exit Steam”.
12- Click the “Generate App List” button.
13- Here you can cycle through the images that load. I personally love the ones by Corgana. When done, click the green-outlined “Save app list” button. It’ll work for a few seconds and pop up something with “done” in it when done.


